पत्ती
DIY Felt Ice Cream Cone
These crafts are simple and quick, so I’m keeping the instructions short. Once you’ve cut out your shapes, you’re already halfway done!
Phoenix Hart
लेखक
झलक
नीचे पूरा पाठ फ़्लोट करता है।
शेल्फ़
स्टोरी लीफ़
These crafts are simple and quick, so I’m keeping the instructions short. Once you’ve cut out your shapes, you’re already halfway done!
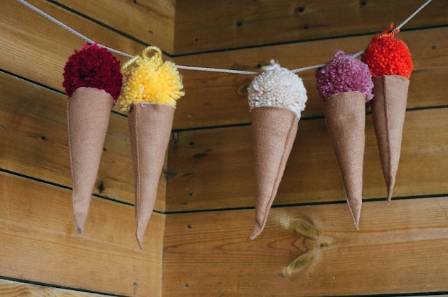
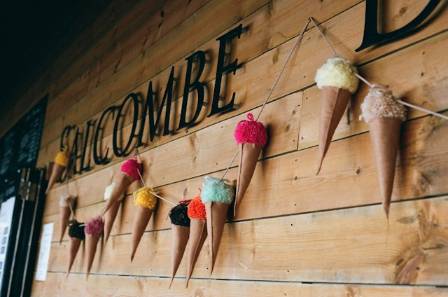
I transformed this felt ice cream into a festive tree ornament, but if you skip the loop of string, it immediately works as felt play food. You could also make a bunch and string them together to create a colorful garland.
I didn’t add sprinkles to this particular ice cream, but you can definitely add them if you like!
This project is part of a sweet treat series that also includes a cupcake and a sprinkle-covered donut. All three patterns are included on the same printable, and you only need to sign up once to access all of them.
Materials
Felt – I used Seaside, Thistle, and Swan for the scoops, and 100% wool felt in Cocoa for the cone.
Polyfill or wool stuffing
Tweezers – helpful for stuffing small areas
Embroidery thread – matching colors
8″ string – optional, for hanging
Printed pattern – be sure to print at 100% scale so it fits correctly (available at the bottom of the post)
Embroidery scissors or snips
How to cut out pieces for felt desserts. DIY felt ornaments with free patterns.
Step 1
Use a straight stitch in a coordinating color to create the waffle-like stitching that attaches the cone to the base. I eyeballed mine, so my stitches are a little uneven—lesson learned!
Tip: measure and mark before stitching for a neater finish.
Note: The darker brown cone should not touch the edges of the base. Leave space for the blanket stitch around the perimeter later.
Step 2
Using a single thread, sew the first ice cream scoop onto the cone with a backstitch. Layer the next scoop on top and stitch it down as well.
Step 3
With two strands of thread, use a blanket stitch to join the front and back pieces together. Begin around the 10 o’clock position on the top scoop, stitching all the way around. Use tweezers to gently stuff the ice cream as you go for an even shape.
Step 4 (Optional)
If you want to hang your ice cream as an ornament, slip a loop of string in before closing the last stitches.
Look how adorable it is!
This is an easy way to make a felt ice cream cone that works as both an ornament or play food. Free pattern included for your DIY project.
Make a collection of felt desserts like donuts and cupcakes for a play kitchen or festive decoration.