पत्ती
How to Draw a Bouquet of Flowers
Creating a bouquet illustration might seem overwhelming at first—there are multiple flower types to draw, perspectives to consider, and color schemes to decide on! But if you break the process into manageable steps and focus on one aspect at a time, designing a bouquet digitally becomes entirely achievable. Grab your iPad and let’s dive into creating a beautiful digital bouquet.
Cora Leigh
लेखक
झलक
नीचे पूरा पाठ फ़्लोट करता है।
शेल्फ़
स्टोरी लीफ़
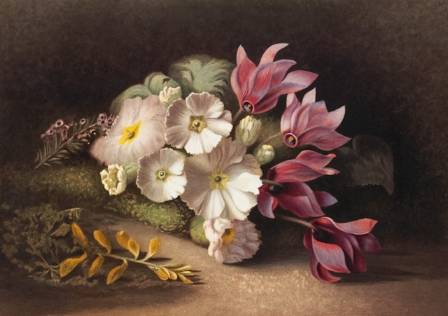
Creating a bouquet illustration might seem overwhelming at first—there are multiple flower types to draw, perspectives to consider, and color schemes to decide on! But if you break the process into manageable steps and focus on one aspect at a time, designing a bouquet digitally becomes entirely achievable. Grab your iPad and let’s dive into creating a beautiful digital bouquet.
In this project, you’ll practice several artistic skills:
Constructing basic flower shapes
Arranging elements for a balanced composition
Applying color theory
Understanding visual weight (don’t worry if you’re new to this—it’s simple and will help your artwork feel more harmonious)
Let’s get started!
1. Find Inspiration
Every project starts with inspiration. Begin by collecting images of bouquets that catch your eye. While gathering ideas, pay attention to:
Favorite flowers: Are you drawn to sunflowers, delicate pastel blooms, or vibrant rainbow-colored arrangements? Make a list of the flowers you want to feature in your illustration.
Artistic style: Do you prefer painterly flowers, sketchy hand-drawn florals, or loose watercolor-style blooms?
Tip: Mix photo references with other artists’ work. This helps you develop a style that’s uniquely yours.
For inspiration, you might explore a Pinterest board dedicated to flower illustrations.
2. Start Sketching
With inspiration in hand, begin experimenting with sketches. Use your references to practice drawing the basic forms of each flower. Remember, every flower can be simplified into basic shapes—circles, ovals, triangles—to help you get started.
If you want a visual guide, check out short flower-drawing tutorials (around 45 seconds each) to get a sense of how to break flowers down into simple shapes.
3. Rough Bouquet Layout
Once you’ve warmed up with sketches, start planning the bouquet composition:
Main flowers: Begin by roughly placing the largest blooms—they act as the focal point for your viewer’s eye.
Filler flowers: Add smaller flowers around the main blooms. These usually appear in greater numbers and help fill space naturally.
Greenery: Finally, sketch in leaves, stems, berries, or tiny accent flowers like baby’s breath to complete the bouquet.
4. Refine Your Drawing
With your rough layout complete, it’s time to refine the sketch. Focus on adding detail to each flower and leaf, defining individual petals and the unique shape of each element. The more precise your linework, the clearer your bouquet will appear.
5. Plan Your Colors
Next comes the fun part—color!
Before fully coloring your bouquet, create a loose color plan, often called a “color rough.” Don’t worry about perfection at this stage—just experiment with colors, layering them roughly over your sketch.
Try multiple color combinations, backgrounds, and even vase designs. This trial-and-error approach helps ensure your final palette works well without wasting time on colors that might clash.
6. Block in Shapes
Now start rendering your bouquet. Use your chosen digital brushes and sample colors from your color rough (tools like Procreate’s Reference Companion are helpful for this).
Begin with solid shapes for the vase and the main flowers.
Add greenery shapes behind the flowers, followed by taller and smaller leaves, and finally the filler flowers.
This step establishes the foundation of your composition.
7. Add Texture and Details
Finally, enhance your bouquet with texture and finishing touches. Add subtle color variations within petals and leaves, outline shapes with delicate lines if desired, and incorporate light and shadow to create depth. These details help your illustration feel polished and dynamic.
By following these steps, drawing a digital bouquet becomes a fun, structured process. Take your time, experiment with shapes, colors, and textures, and you’ll soon create vibrant, balanced floral artwork that’s uniquely yours.
पास की पत्तियाँ
फ्लेमिंगो अपने धूप से फीके पड़े पंखों को रंगकर गुलाबी रंग में सुंदर बने रहते हैं
मधु
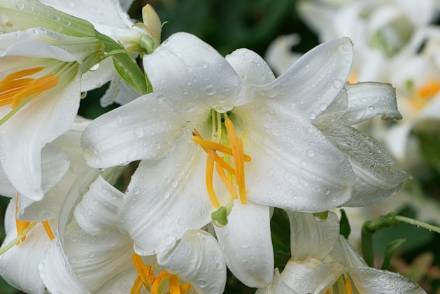
Zephyranthes rosea: The Rain-Blooming Lily Explained
Jordan Smith

America's Spectacular Mountain Landscapes: 8 Must-See Peaks
Catherine Xu

Nutritious Japanese-Style Rice Bites
Julian Markham

सर्दियों के अजूबे: बर्फीले सफ़र के लिए आरामदायक केबिन
अक्षय

कंप्यूटर के इतिहास के लिए बच्चों के लिए बेहतरीन गाइड
प्रवीण